



My First Experience Using LevelQuick RS For My New Exercise Room - Custom Building Products

My First Experience Using LevelQuick RS For My New Exercise Room - Custom Building Products
Why I Needed to Level the Exercise Room Floor
As part of building my new exercise room, I needed to deal with an uneven concrete floor before installing the finished flooring. The floor was not dramatically out of level, but there were enough low areas that I did not want to simply cover them up and hope for the best.
This was my first experience using LevelQuick RS Self-Leveling Underlayment from Custom Building Products. I had used plenty of concrete and construction products before, but self-leveling cement was a little different because of how quickly everything has to happen once the material is mixed.
Before buying material or mixing anything, I wanted to get a reasonably good picture of what the floor was actually doing. Rather than guessing based on what I could see, I measured the floor systematically.
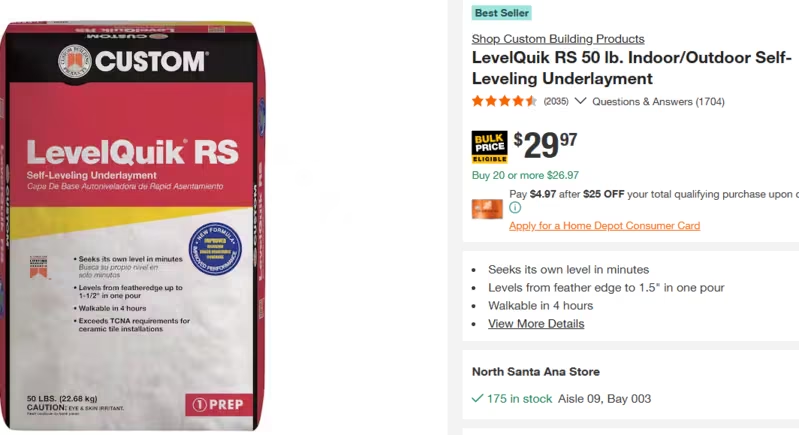
Levelquick RS 50 pound self leveling
Mapping the Floor Before the Pour
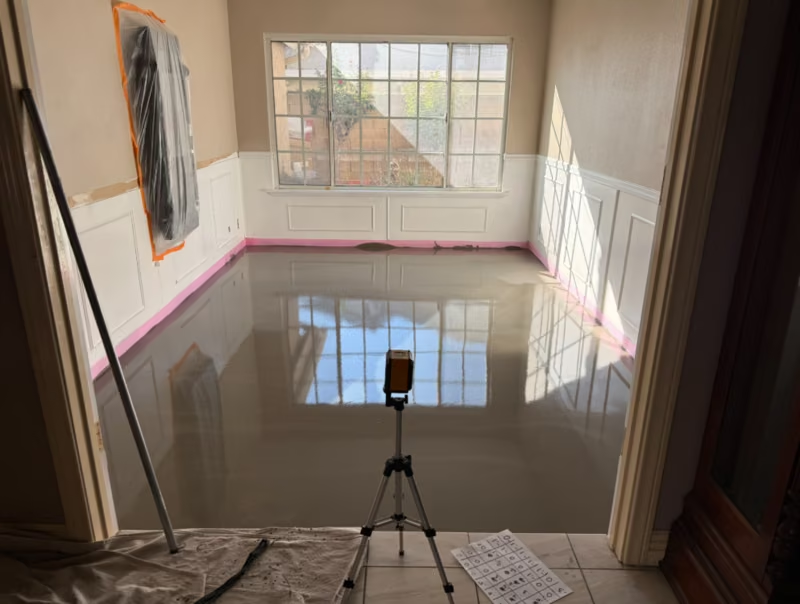
I divided the exercise-room floor into approximately 2-foot by 2-foot sections and recorded the elevation differences throughout the room. This gave me a grid showing where the concrete was low and approximately how much material would be needed to bring those areas up.
The measurements showed that the floor generally dropped through portions of the middle of the room, with the existing concrete becoming higher as it approached some of the walls. That was useful because it changed the project from simply “pour some leveler on the floor” into a much more predictable job.
The grid also helped me estimate how many 50-pound bags of LevelQuick RS I would need. The coverage information on the bag is based on both square footage and thickness, so knowing the approximate depth of the low areas was much more useful than knowing the room dimensions alone.
I also bought a little more material than my calculation suggested. With a fast-setting product, running out halfway through the job would have been much worse than having an extra bag left over.
```
Preparation Was the Most Important Part
One of the things I quickly realized about LevelQuick RS is that the actual pouring is only one part of the job. A lot of the work happens before the first bag is ever mixed.
The concrete needed to be clean and properly prepared, and I used the recommended LevelQuick primer before applying the self-leveling material. I wanted the primer completed and the entire work area ready before starting the mixing process.
I also tried to eliminate as many decisions as possible before the pour. The bags were staged, water was ready, mixing equipment was ready, and we knew where the material needed to go first.
This preparation is especially important with the RS version of LevelQuick because RS stands for rapid setting. Once a batch is mixed, this is not a product that gives you unlimited time to figure out your next move.
Mixing and Pouring LevelQuick RS
The biggest difference between this project and working with ordinary concrete was the pace. LevelQuick RS needs to be mixed consistently and moved onto the floor quickly. Once the process starts, it makes sense to keep it moving rather than stopping between every batch.
For a project like this, having several people involved makes the job much easier. One person can concentrate on measuring water and mixing the next batch while another handles the material being poured and another helps move, spread, or manage the work area.
The goal is not to manually trowel the entire floor perfectly flat like traditional concrete. The material is designed to flow and seek its own level. At the same time, “self-leveling” does not mean that you can simply dump a pile in one location and walk away. The material still needs to be placed where it is needed and helped along so the individual pours blend together.
For me, the key was treating the pour as one coordinated operation rather than a series of unrelated bags of cement.
What I Learned From My First LevelQuick RS Project
My biggest takeaway from using LevelQuick RS is that measuring and preparation matter at least as much as the actual pouring. Making the 2-foot by 2-foot elevation grid beforehand gave me a much better understanding of the floor and made it possible to estimate the amount of material instead of guessing.
I would also plan around the rapid-setting characteristics of the product from the beginning. Have the water measured, tools ready, bags positioned, and everyone involved in the project aware of their job before mixing the first batch.
Another lesson is not to underestimate material requirements. A relatively small change in average thickness over a large floor area can consume a surprising amount of self-leveling cement.
Overall, LevelQuick RS gave me a practical way to correct the low areas in the concrete floor as part of building the exercise room. It was one of those projects where the preparation initially seemed like overkill, but once the mixing and pouring started, I was very glad that we had taken the time to map out the floor and plan the job beforehand.